Introduction:
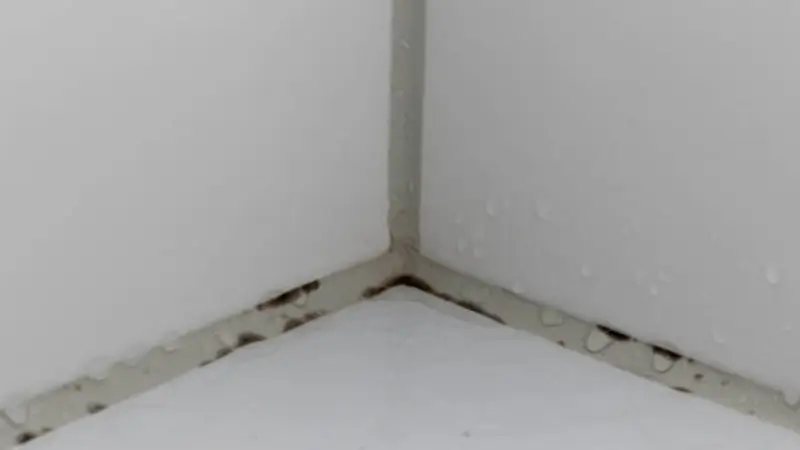
Because tile grout is typically composed of sand, cement, and water, it is typically porous and absorbing. If you leave it open, it will absorb dirt and moisture like an absorbent, and once inside, it will be difficult to remove it. So, in this article, we will discuss 7 easy ways how to seal tile grout.
However, sealing tile grout is a very simple way to restrict dampness from leaking between and beneath your tiles. You only require an efficient grout sealant that can reach and preserve the grout to prevent mold and its growth, as well as instructions on how to apply it.
What type of grout sealant is appropriate for your job, and how should it be applied? Learn how to go from dirty to dazzling in a day with your kitchen or bath tile. Although if you wash your entire bathroom regularly, dusty grout can ruin the appearance of the tile walls and floors. As cement-based grout is loose by structure, things such as oil, lubricants, and water are likely to seep within and create unwanted dark spots.
To avoid this, bind your fresh grout and continue as necessary. How to seal tile grout? In this article, you will discover what to do to seal grout and establish dependable protection preventing ugly spots and a dirty look. It’s possible that you’ll never be required to scrape those rough edges back.
Something you must be aware of:
Understanding what to do to protect grout starts with realizing that not every grout sealant is made equal. Some sealers are only made to be used using specific types of grouting and tile.
Keeping this in mind, inspect the grout and tiles prior to going to the home maintenance retailer to buy a sealant. When you begin, follow the operating manual on how to apply the grout sealant.
Absorbing grout sealants assist stop staining and oils from leaking into the grout, whilst non-penetrating grout sealants build a barrier that protects the grout from wetness and dirt.

How to seal tile grout in 7 easy steps?
By protecting bath tile, you may prevent stains caused by black mold, hair colors, and shampoo, as well as make everyday maintenance and upkeep smoother. Here are 7 quick and straightforward procedures for effectively sealing tile grout in a bathroom by using the finest grout sealant for your bathroom floors.
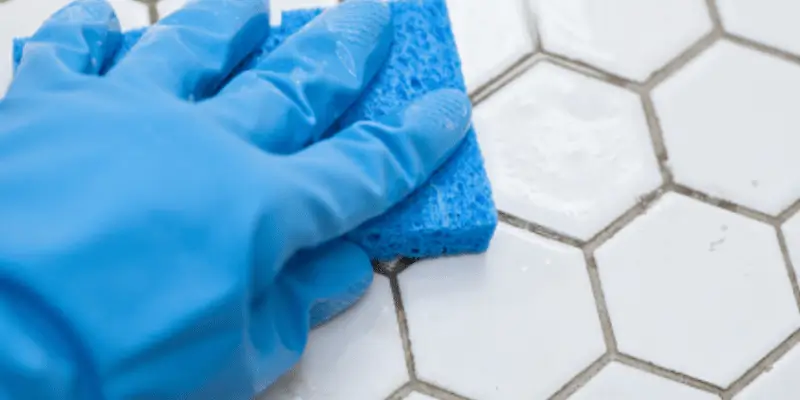
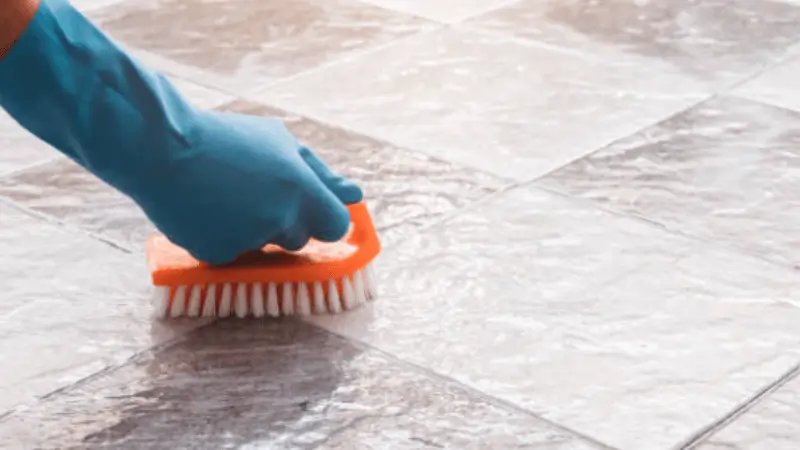
Wash and dry the grout (how to seal tile grout):
Prior to applying a sealant, make sure that the grout is totally clean and that all breaks or cracks in the tile floors are repaired.
Since you may have a risk of letting dust and broken joints throughout. So, use brushes soaked in water and soap, and scrape away the majority of the dust and particles as feasible. Vinegar with a warm water solution can help you remove stains.
During cleaning, it is also recommended that you use personal protective clothing such as rubber scrubbing gloves, protective goggles, and an appropriate mask. Remember to let the area dry for an hour before beginning the sealing process.
Choose the best grout sealant for your work:
You must select one of the top grout sealants that are appropriate for the kind of tiles you are using. As no sealant is ideal for each application and place.
Whenever looking for grout sealants, you will notice that the range of materials available on the marketplace enables some amount of flexibility. Product labels indicate which sealants are suitable for marble, granite, and tiles.
Absorbing sealants often include a water or mineral solvent basis, which enables the method’s small latex or silicone pieces to permeate the physical properties of the grouting.
As the spongy grout absorbs the sealant, the latex and silicone granules fill up all the crevices and prevent dampness. Membrane-forming sealants build a layer on the grout that prevents water from penetrating.
Absorbing sealants are usually the best option for usage in mostly moist locations, such as showers. Membrane-forming sealants are effective in kitchens, but shouldn’t be utilized in the bathroom.
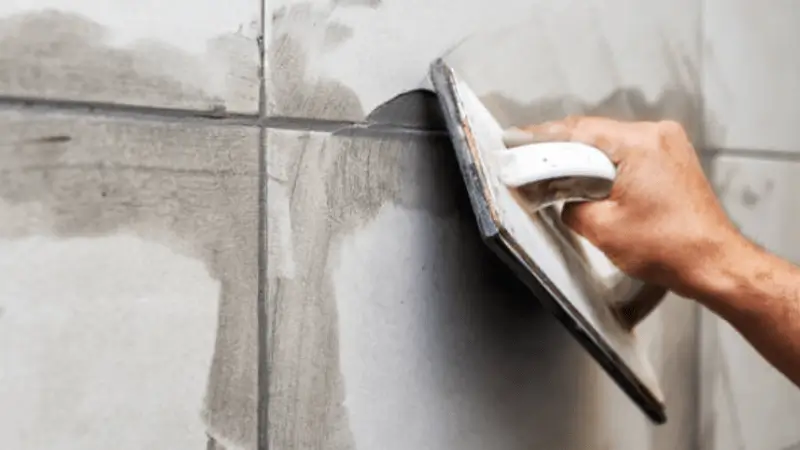
Choose the appropriate sealer applicator for your work:
Selecting the right applicator is essential for obtaining satisfactory accuracy from a grout sealing treatment. Many factors influence applicator choosing, such as the width of the grout lines and if you are dealing with leak-proof or unsealed tile.
If you have extremely thin grout edges and unsealed tiles, you may simply seal your bathroom floor or walls by rubbing them with a sponge.
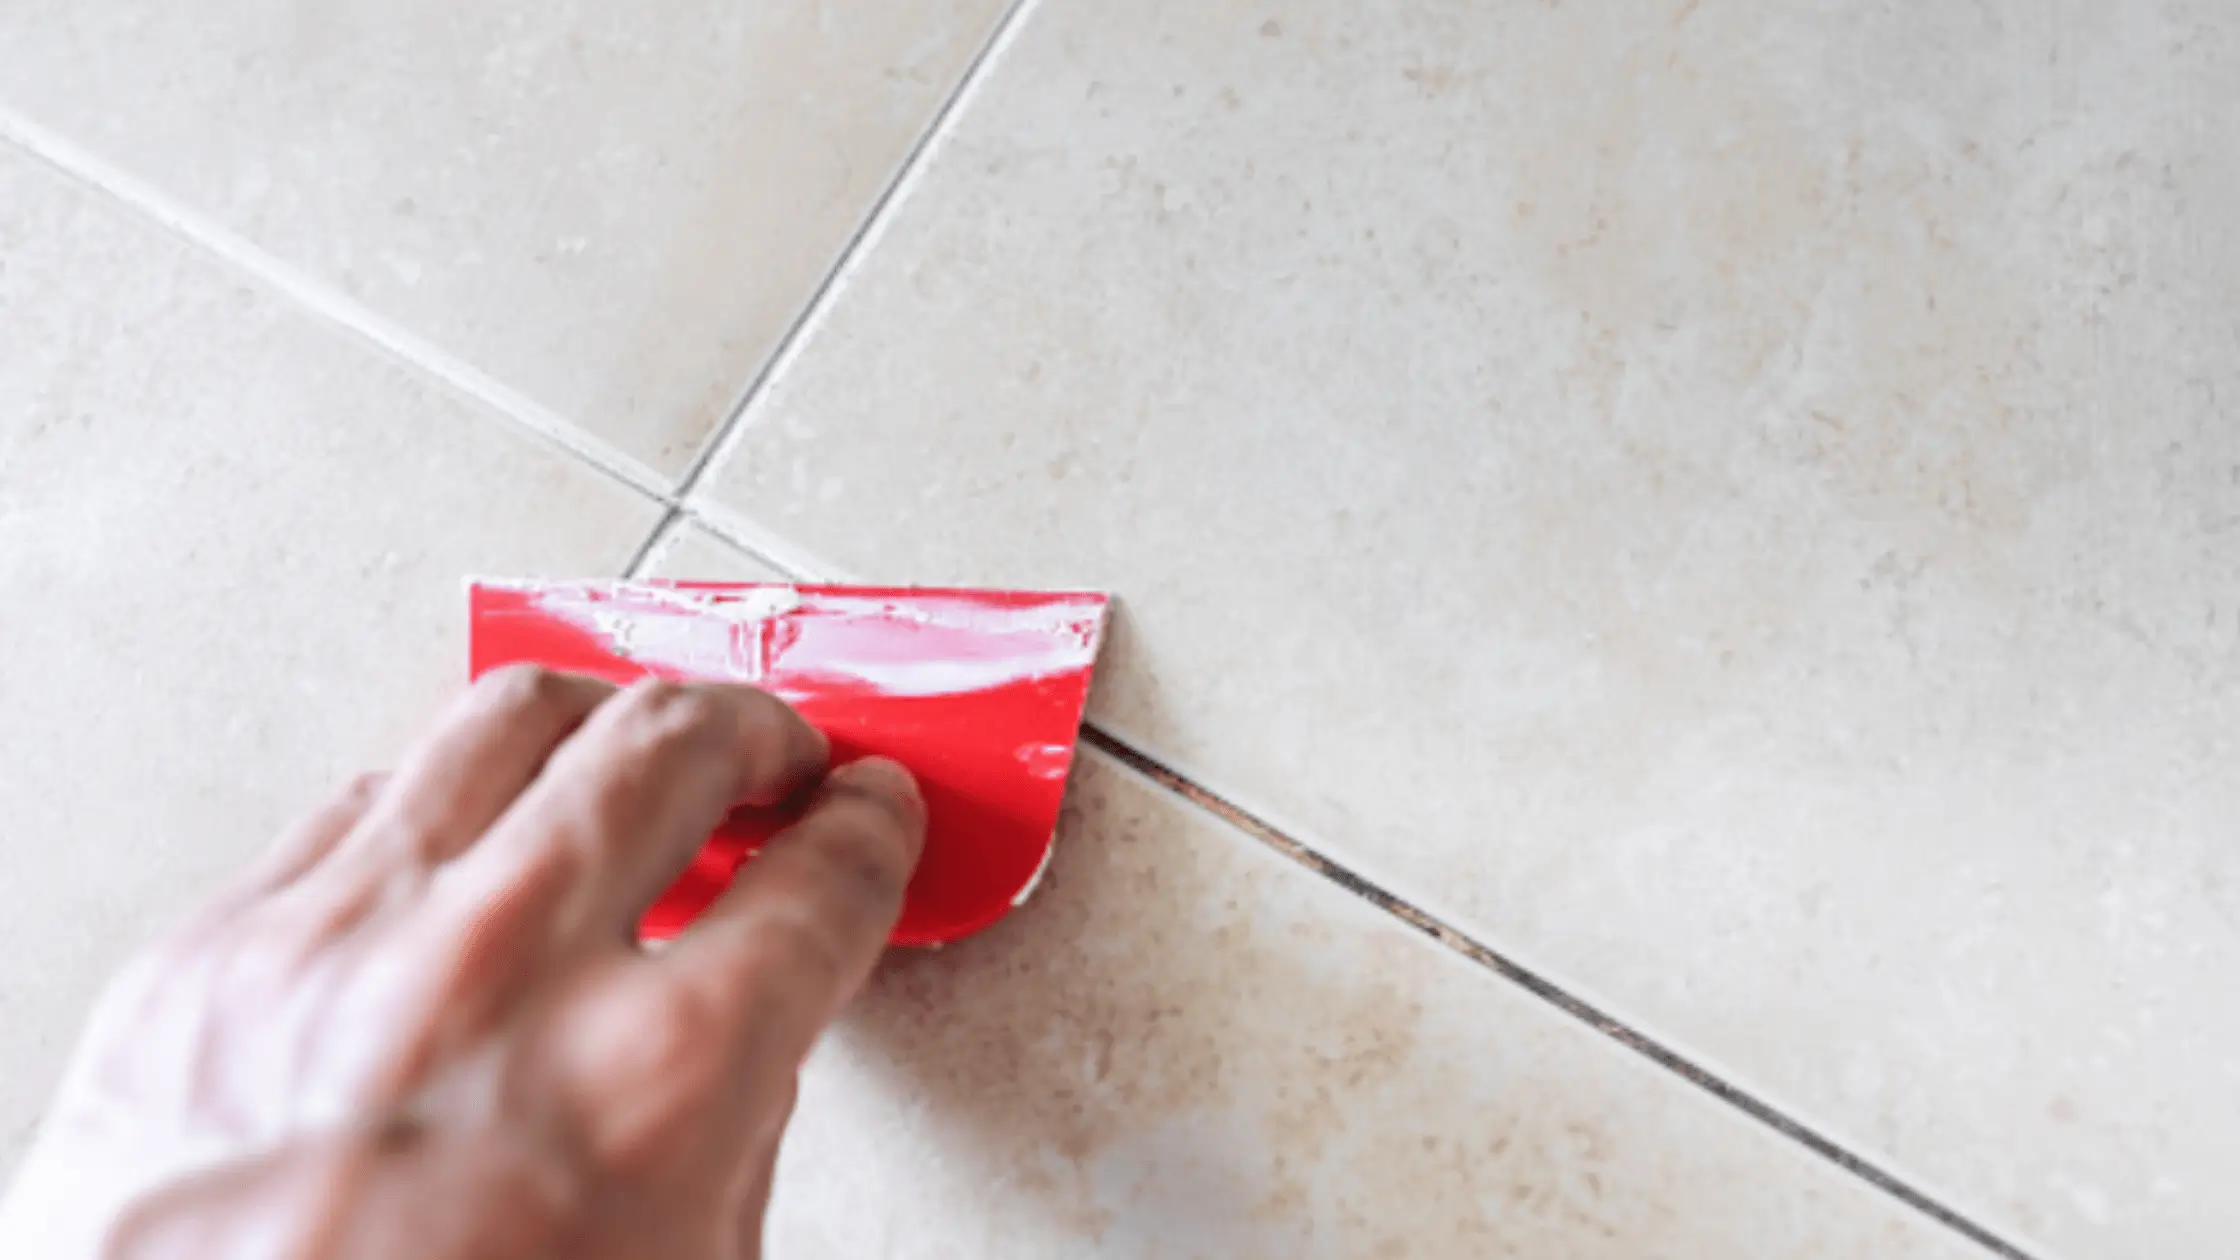
In the case of glazed tiles, if the sealant will not attach, you need to seal just the grout edges, which is best accomplished with a brush and a roller.
Pour the sealant into an injector container and fill it all up to the top. Finally, prior to using the container, lock the roller top.
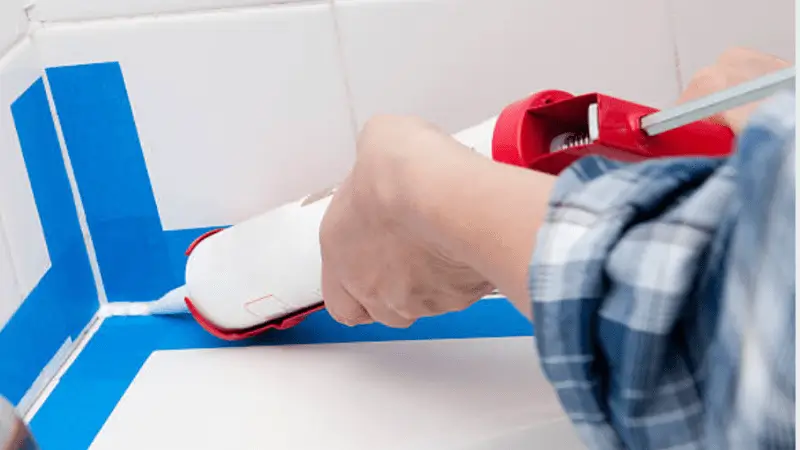
Gently apply the sealant and wipe away any leftovers:
Add the sealant to the grout with foam or brush. To guarantee that the sealant provides a waterproof coating, apply the grout uniformly and fully. Allow the sealant to rest for about 10 minutes before wiping away any extra sealant from the adjacent tile with a clean towel. If you neglect this stage, you may face difficulty to remove it later.
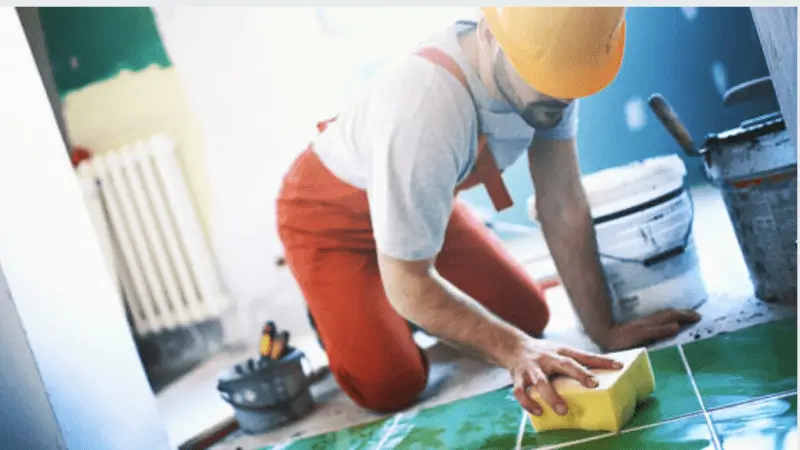
Apply another coat of sealant:
Allow an hour after the first application of sealer has dried before putting a second coat. To ensure appropriate protection, 1 to 3 applications of sealer are usually required.
Check the sealer (how to seal tile grout):
Check the finish after the second application of sealant has dried, by putting a very small amount of water in the grout. The water must crystallize into droplets. If not, use a final coat to assure excellent performance.
Let the sealant set fully prior to stepping on it or using water:
Most sealants dry in 1 day, while some others might take up to 2 days; read the product’s guidelines before using it. A quality sealant saves time scrubbing.
Applying Aerosol Grout Sealant:
Because aerosol spray sealants are faster to apply than those that require a brush, there are a few things to consider before purchasing any of these materials.
Spraying grout sealant is quick, but it leaves additional sealant on the tile surface. This means you’ll need to spend some time clearing up overspray after spraying to avoid dust clouds on the tiles. Sprays waste a significant amount of material because they aren’t as precise as other methods of putting sealant.
Another consideration with aerosol grout sealants is that they produce weaker membranes, which means you’ll need to apply more coats to achieve the same amount of protection.
How to seal tile grout? Conclusion:
This is a very clear and simple technique that requires no special tools or expertise and is possible even by a novice. A decent grout sealant can help protect over a year or longer if correctly applied.
Simply implementing these easy measures, you can simply preserve the elegance of your bathroom and kitchen tiles by avoiding stains, germs, and moisture from leaking into the grout.
Water-based sealants dry faster and are easier to apply; however, soluble sealers are more durable and provide longer protection.
I believe that this comprehensive and useful information has helped you understand how to seal tile grout in the bathroom and kitchen.
Related articles:
- 10 Best Ideas For Home Wall Decoration.
- 10 Simple Tricks to Prevent Noise Through Walls.
- How to get floor plans of your house?
- How to Soundproof a Ceiling – Zero Noise From Upstairs.
- How to Use Mirrors In your Home to make a stylish interior design.
- Follow these Easy Steps on How To Install a False Ceiling.
- How to reduce your annoying bathroom echoes?
- Modern Farmhouse Interior Design Ideas – Follow These 9 Amazing Tips.